21 Steps to Create Your Own Countertop Coffee Bar Even in a Tiny Kitchen
Published: 19 Aug 2026
If your coffee maker, mugs, and beans are scattered across three different cabinets, you already know why a countertop coffee bar makes mornings easier. Learning how to create your own countertop coffee bar solves the everyday problem of clutter and slow, scattered routines, giving every coffee tool one clear home so brewing takes seconds instead of a search-and-gather mission. It also works for almost any kitchen, whether you have a full unused counter or just a narrow strip of space, because the setup scales up or down with what you have. This article breaks the process into twenty-one clear, doable steps, from choosing the right spot and equipment to styling, lighting, and long-term upkeep, so you can build a coffee bar that looks put together and actually works for your daily routine.
1. Choose the Right Location
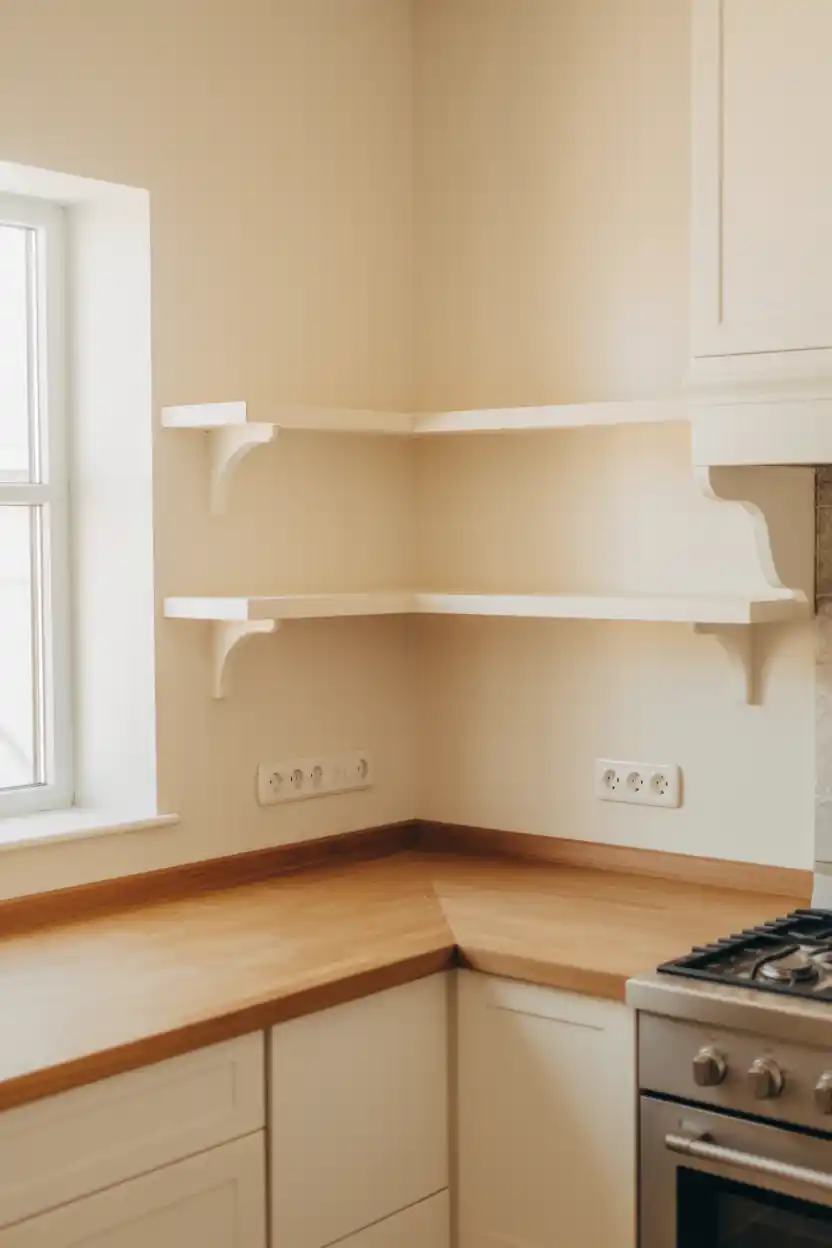
The first step in creating a countertop coffee bar is picking a spot that makes sense for daily use. Look for a corner or stretch of counter near an outlet, ideally away from the stove and sink so the two zones do not compete for space during meal prep.
Corners are especially useful because they tend to go underused otherwise, and placing the bar near a window adds natural light that makes the whole setup feel brighter and more inviting each morning.
This step matters most for anyone in a smaller kitchen, since choosing the right few feet of counter now will determine how well every later step, from shelving to styling, actually functions.
2. Measure Your Available Space
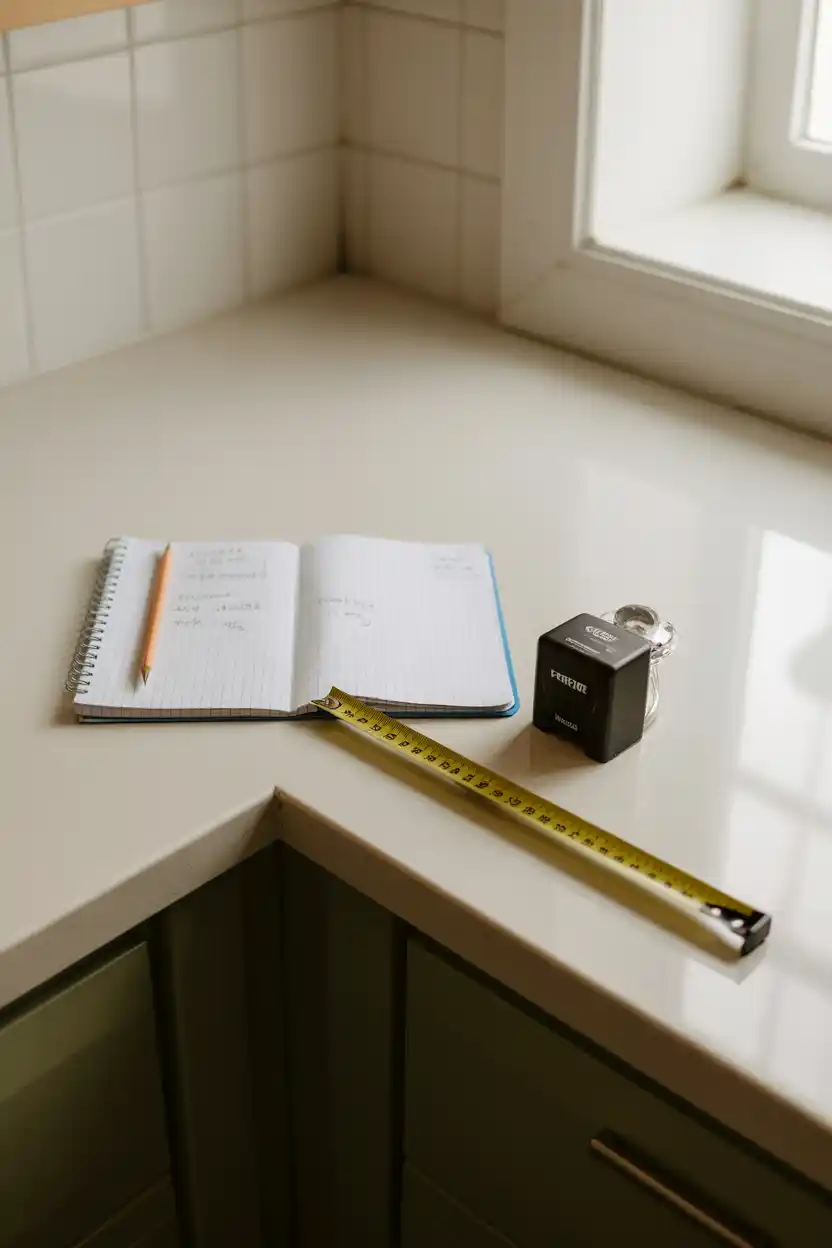
Before buying anything, measure the width, depth, and height of your chosen spot, including any cabinets or shelves above it. This prevents the common mistake of purchasing a coffee maker or shelf that does not actually fit the space.
Take note of outlet placement and any nearby switches or vents, since these will affect where your machine and cords can realistically sit without looking messy or blocking airflow.
This step is especially important for narrow galley kitchens or apartment kitchens where every inch counts, and it saves time and returns later in the process.
3. Select the Right Coffee Maker for Your Routine
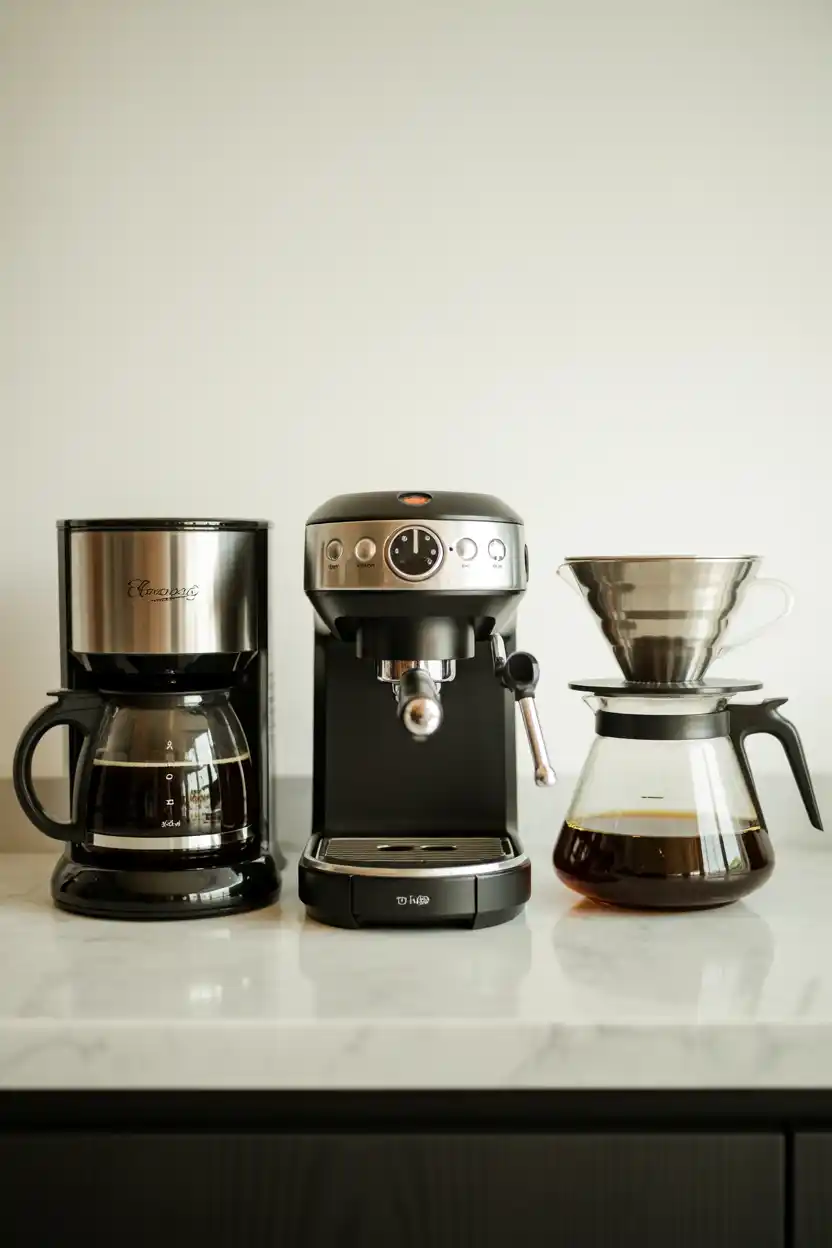
The coffee maker you choose should match how you actually drink coffee, not just what looks best. A single-serve or compact drip machine suits quick daily cups, while an espresso machine suits those who enjoy lattes or want a more involved ritual.
Size matters as much as style here, since a large espresso machine may overwhelm a small counter corner, while a slim pour-over setup can fit almost anywhere and adds a manual, hands-on element to the morning routine.
This step is best approached by being honest about your habits: busy mornings favor speed and simplicity, while slower weekend routines can support a more elaborate brewing method.
4. Add a Floating Shelf for Vertical Storage
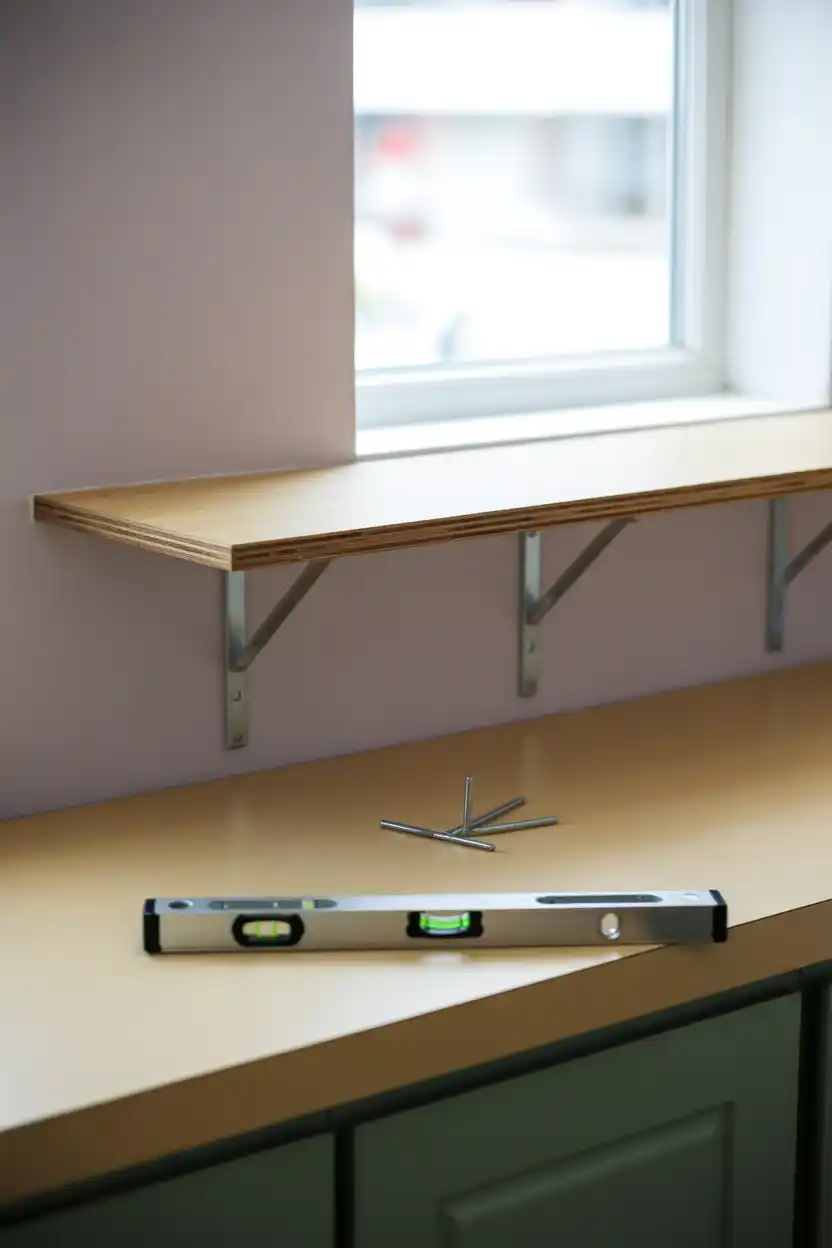
A floating shelf adds storage without using any extra counter space, which is especially valuable in a small kitchen. Mounting one shelf above your chosen spot instantly doubles the usable area for mugs, jars, and small decor.
Choose a shelf depth that matches what you plan to store; generally, six to ten inches is enough for mugs and jars, and make sure it is anchored securely into a wall stud or with appropriate wall anchors to safely hold the weight.
This step is ideal for renters and small-space dwellers, since a single floating shelf is inexpensive, quick to install, and easy to remove later without major wall damage.
5. Define the Zone With a Tray
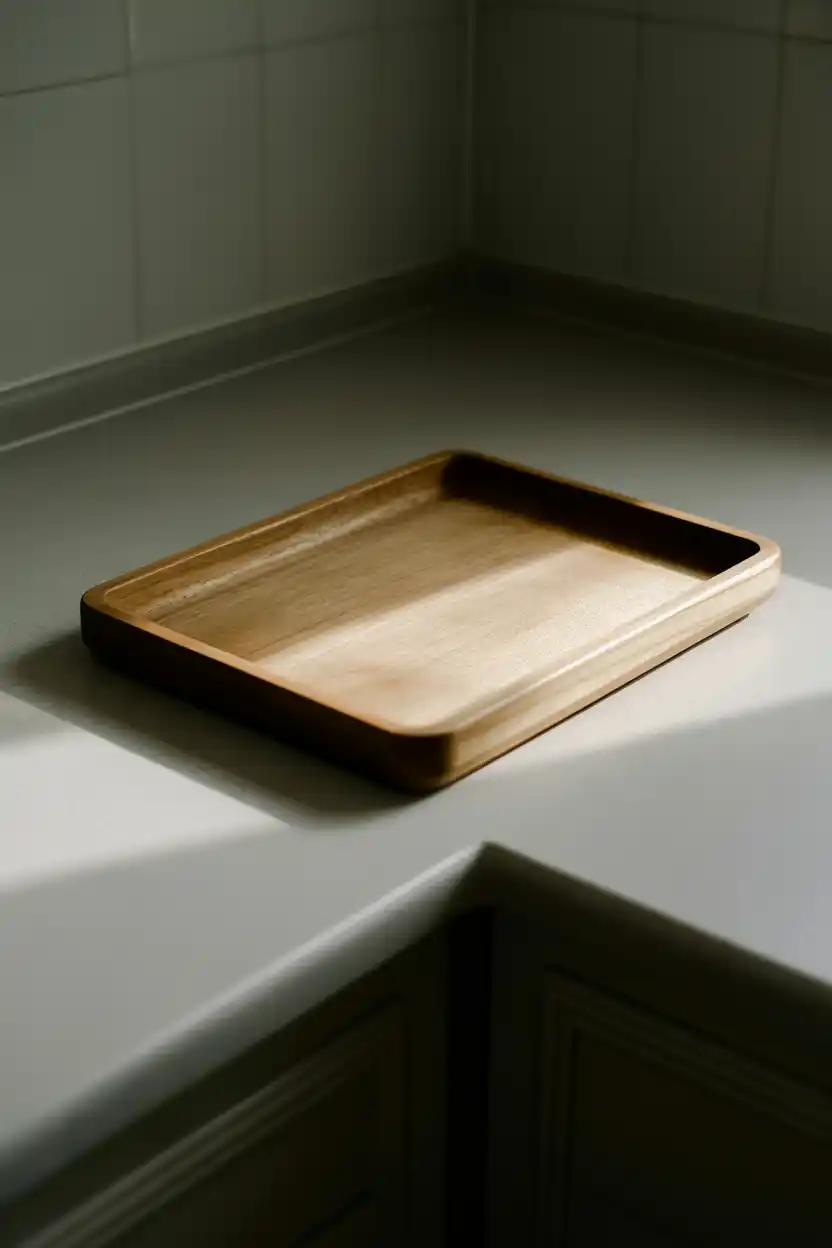
A tray is one of the simplest ways to visually define your coffee bar as its own zone, even without any shelving or cabinetry changes. It contains drips and spills and makes the whole setup feel intentional rather than like appliances left out randomly.
Choose a tray large enough to hold your coffee maker plus one or two accessories, but small enough to leave breathing room around the edges of your counter space. Wood, marble, and metal trays each suit different style directions.
This step works for every budget and kitchen size, and it is often the single fastest way to make an existing setup look more organized without buying any new equipment.
6. Add Glass Jars for Beans and Sugar
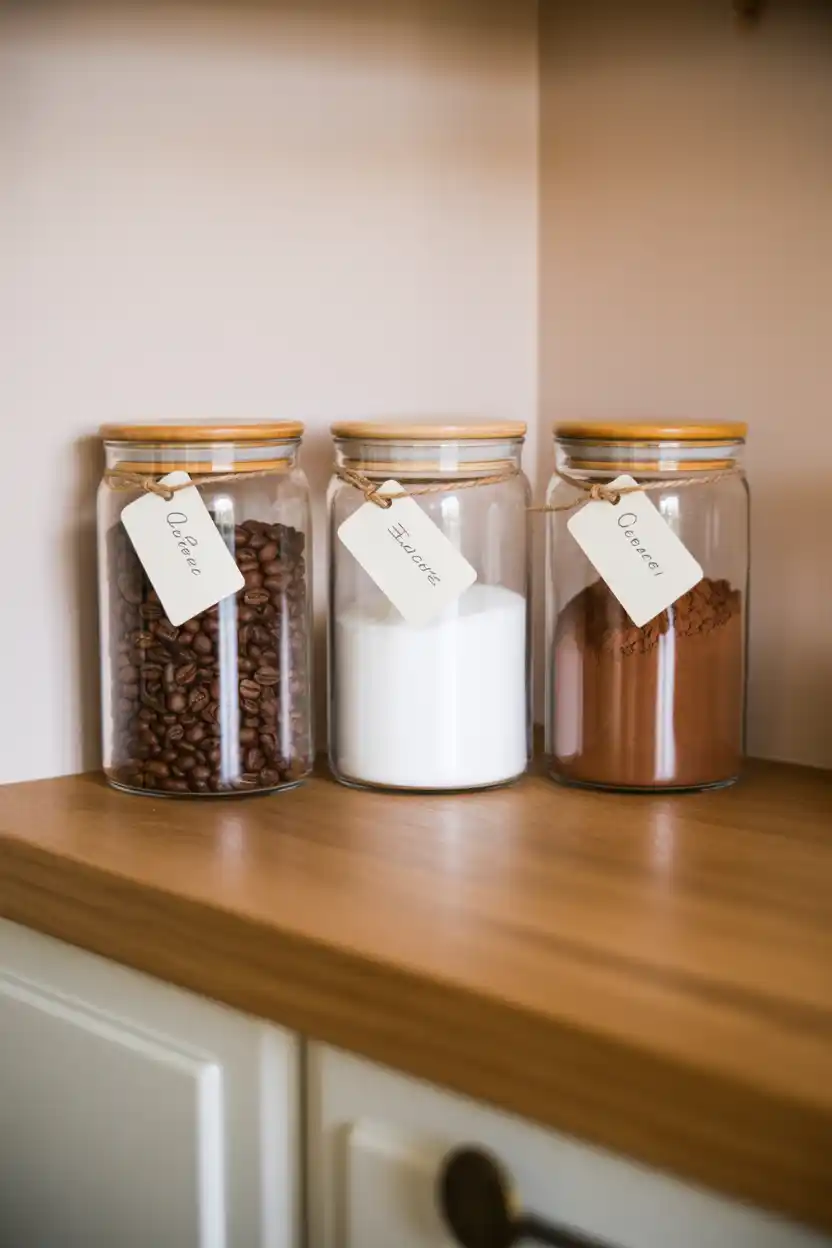
Transferring coffee beans, sugar, and other add-ins into matching glass jars keeps everything visible and fresh while instantly making the counter look more curated. Clear glass also makes it easy to see at a glance when supplies are running low.
Labeling each jar, whether with a printed tag or simple handwriting, adds a boutique touch and helps guests find what they need without opening cabinets. Keeping the jars uniform in shape creates visual order even if the rest of the kitchen is busy.
This step suits anyone who wants their coffee bar to double as a display feature, and it is a small, low-cost upgrade that makes a noticeable difference in how finished the space looks.
7. Set Up a Water Source or Kettle Station
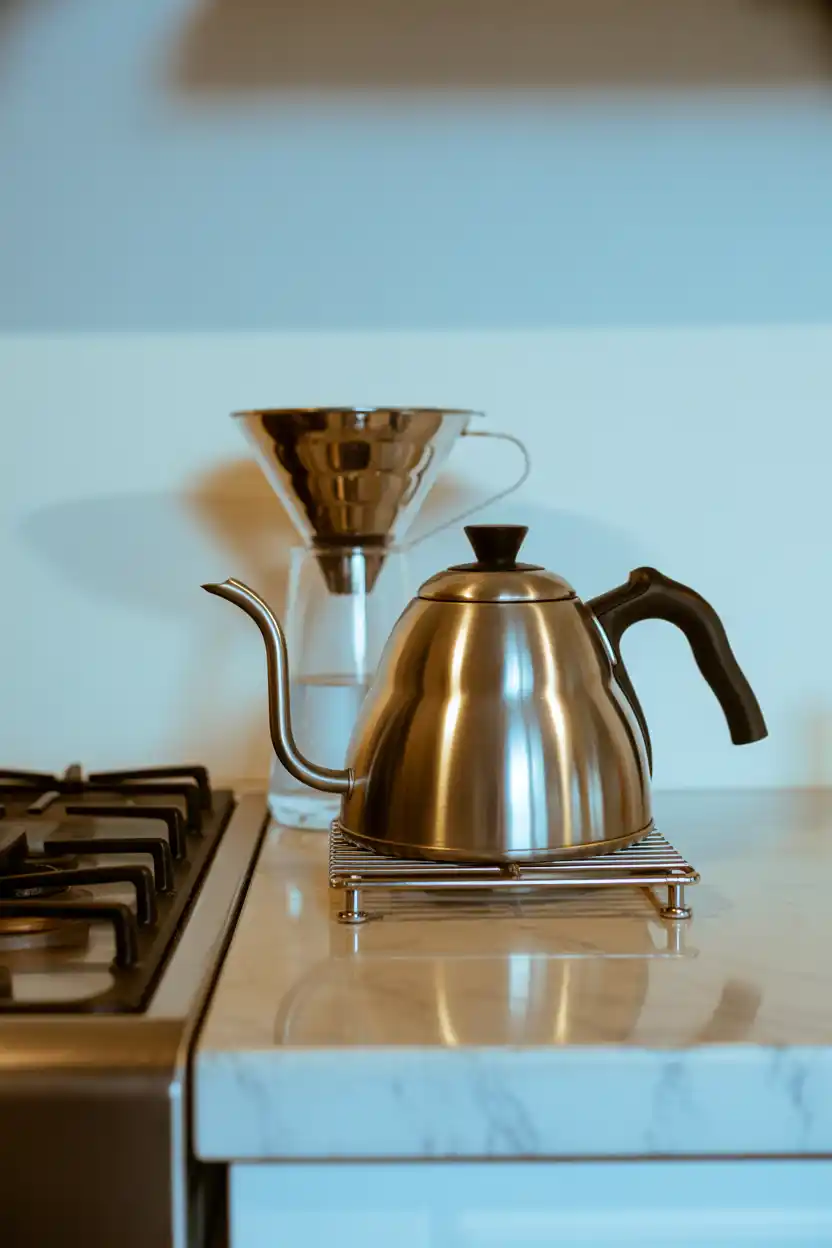
If your coffee maker does not have a built-in water reservoir connection, plan for a nearby water source, whether that is a filtered water pitcher, a gooseneck kettle, or proximity to the sink. This keeps refills quick and avoids extra trips across the kitchen.
A gooseneck kettle in particular suits pour-over brewing and doubles as an attractive piece of counter decor on its own, while a simple filtered pitcher works well for drip machines that need to be manually filled.
This step is especially useful for those using manual brewing methods like pour-over or French press, where controlling water temperature and pour speed is part of the process.
8. Add Mug Storage With Hooks or a Rack
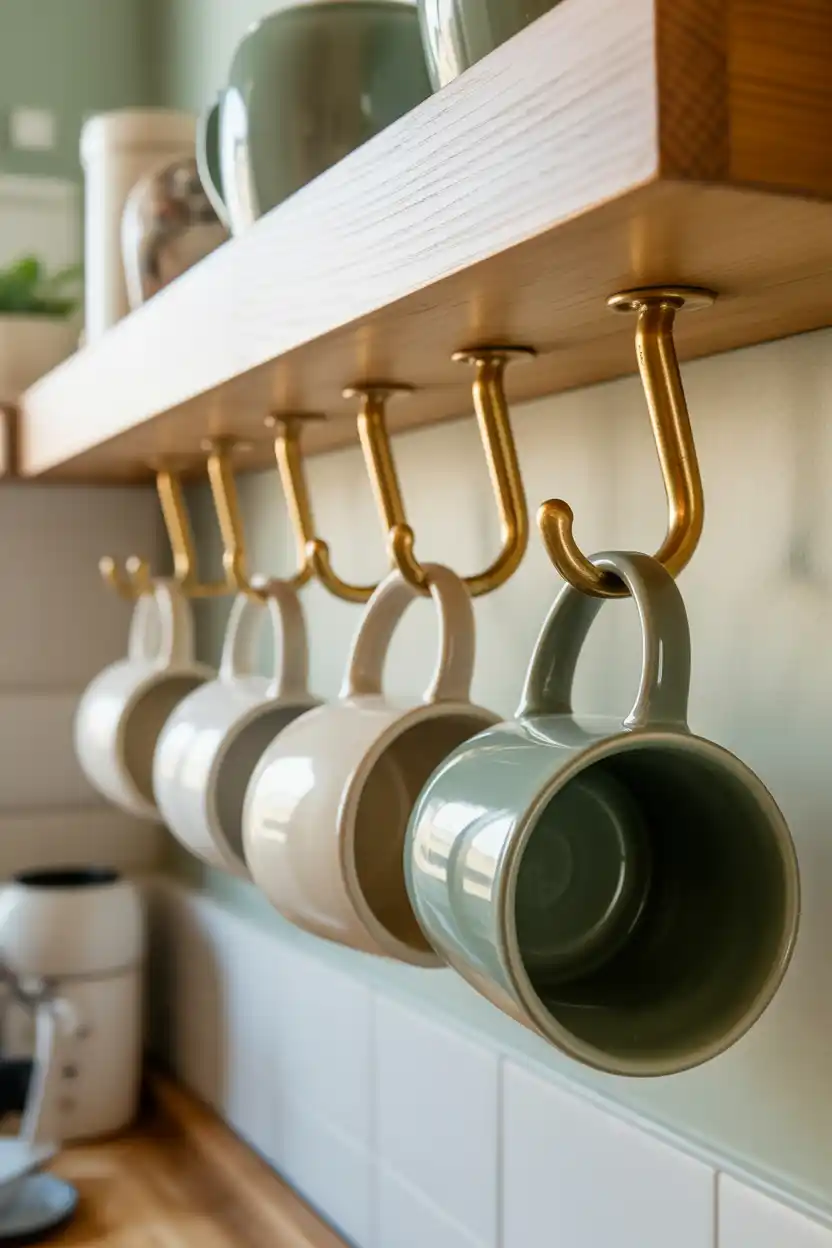
Hanging mugs from hooks under a shelf keeps them accessible without taking up any counter or cabinet space, and it turns a practical storage need into an attractive display feature at the same time.
Choose hooks in a finish that matches your other hardware, such as brass, matte black, or brushed nickel, and space them evenly so the mugs hang without touching each other or the counter below.
This step is ideal for anyone with a growing mug collection or a small kitchen with limited cabinet space, since it frees up storage elsewhere while keeping daily-use mugs within easy reach.
9. Choose a Cohesive Color Palette
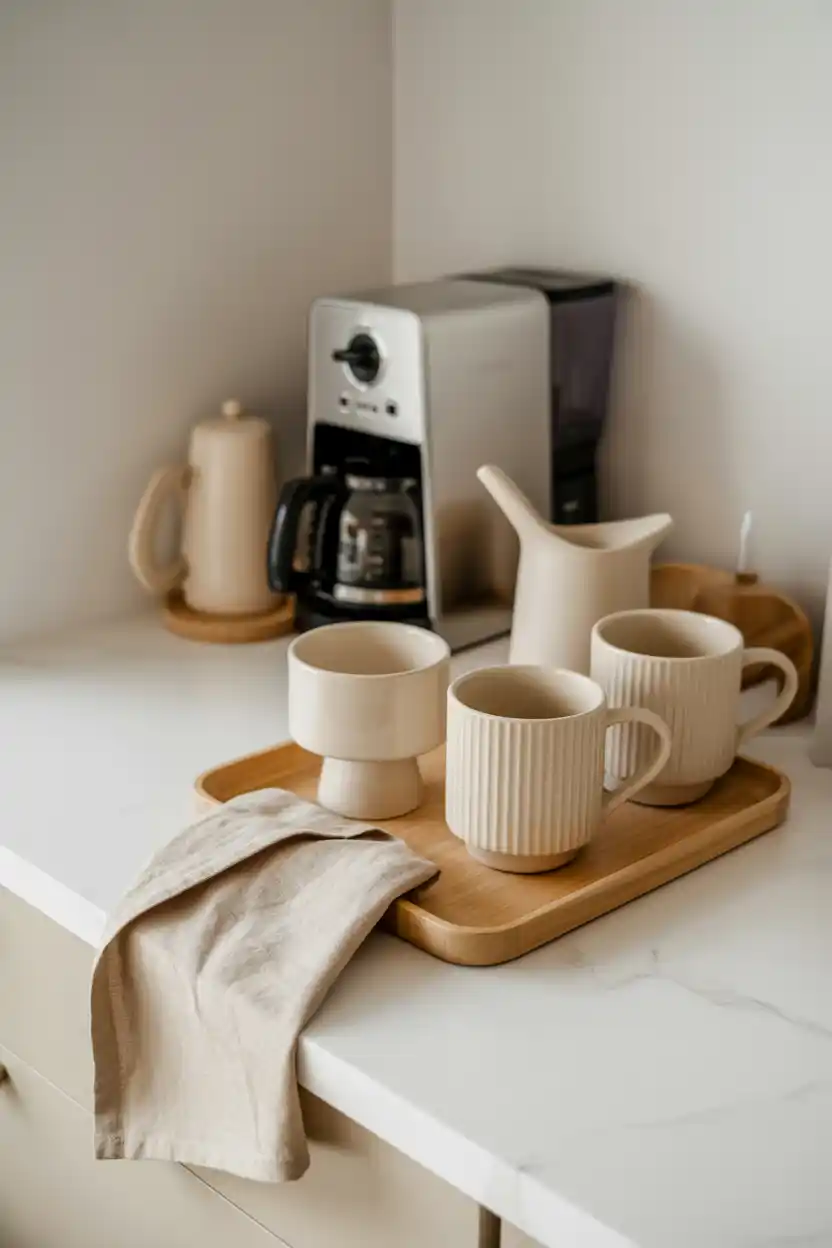
Choosing two or three colors or materials to repeat throughout your coffee bar, such as white and wood, or black and brass, keeps the space feeling designed rather than like a random collection of mismatched items.
This does not mean every single piece needs to match exactly, but rather that most pieces share a common thread, whether that is a color family, a material like ceramic or glass, or a finish like matte black or brushed gold.
This step is especially helpful for anyone assembling their coffee bar gradually over time, since a clear color plan makes future purchases easier and keeps the look consistent as new pieces are added.
10. Add a Small Bin for Coffee Grounds
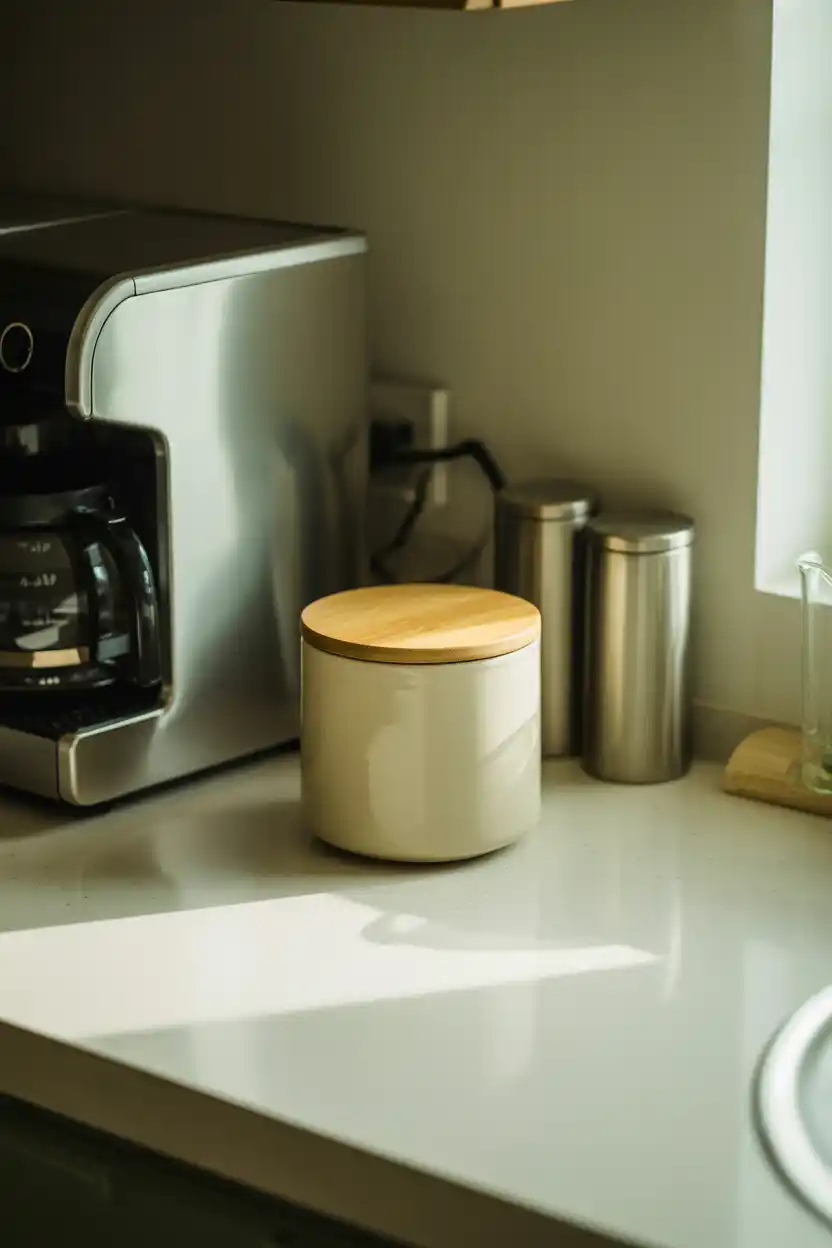
A small bin or container for used coffee grounds or pods keeps cleanup quick and prevents grounds from ending up in the sink or trash can across the kitchen. This is a small detail that makes a real difference in daily convenience.
Choose a bin with a lid to contain smell and mess, and pick a size that matches how often you brew: a small one for occasional use or a slightly larger one for households that brew multiple times a day.
This step is especially useful for anyone composting coffee grounds for the garden, and for households where the coffee bar gets heavy daily use and needs a quick, built-in cleanup solution.
11. Include Coasters or a Drip Mat
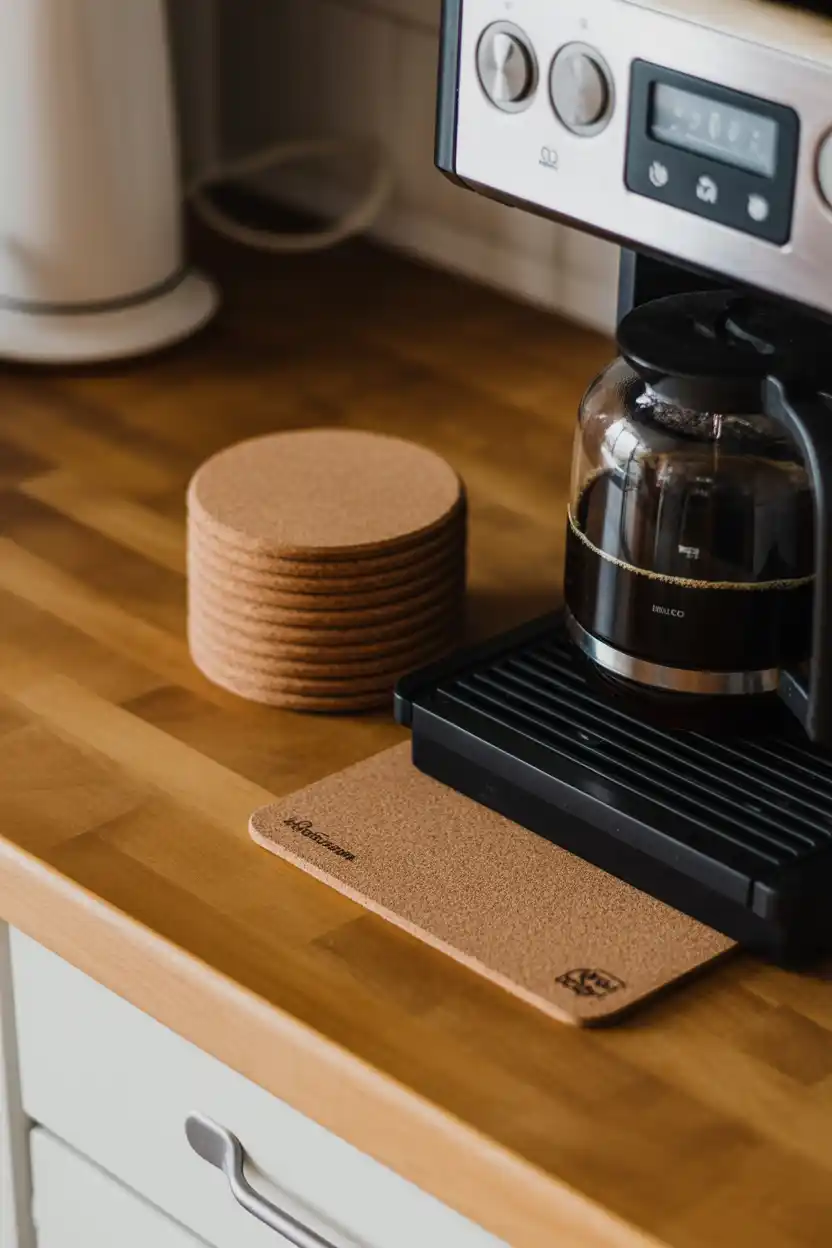
A drip mat placed under your coffee maker or kettle catches spills and condensation, protecting your countertop finish and making cleanup faster. This is a small addition that prevents water stains, especially on wood or marble surfaces.
Coasters serve a similar protective purpose for mugs set down on the counter or tray, and they add a small styling detail when chosen in a material like cork, marble, or ceramic that matches the rest of the space.
This step is worth prioritizing for anyone with a wood or natural stone countertop, since these materials are more prone to staining or water damage than laminate or sealed quartz.
12. Add Lighting to Highlight the Space
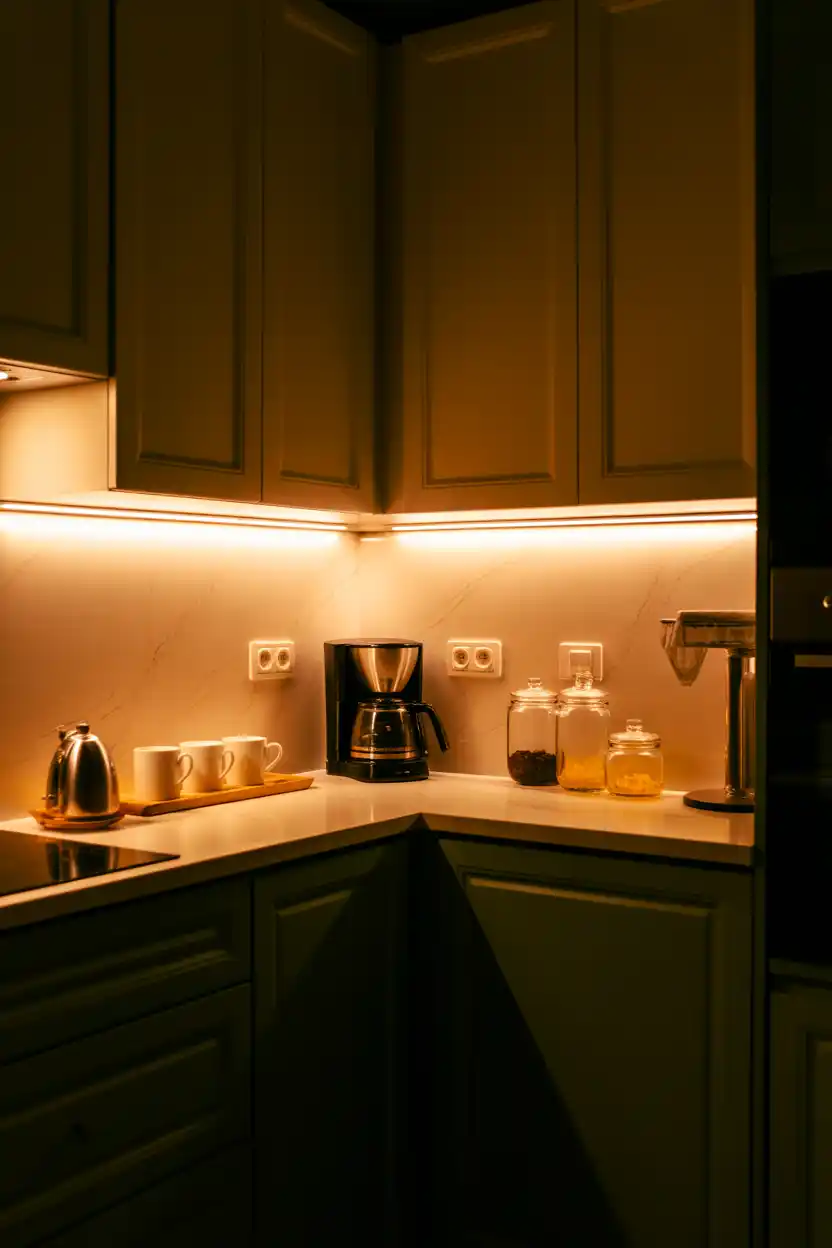
Adding a small light source, whether under-cabinet LED strips, a plug-in sconce, or a small lamp, draws attention to your coffee bar and makes it feel like a deliberate feature rather than an afterthought, especially during early morning hours before the rest of the kitchen lights are on.
Warm white lighting tends to suit coffee bar styling best, creating a cozy, cafe-like glow rather than the cooler, brighter light often used for general kitchen tasks.
This step is particularly worthwhile for corners that do not get much natural light, or for anyone who uses their coffee bar very early in the morning before sunrise.
13. Personalize With a Sign or Small Menu
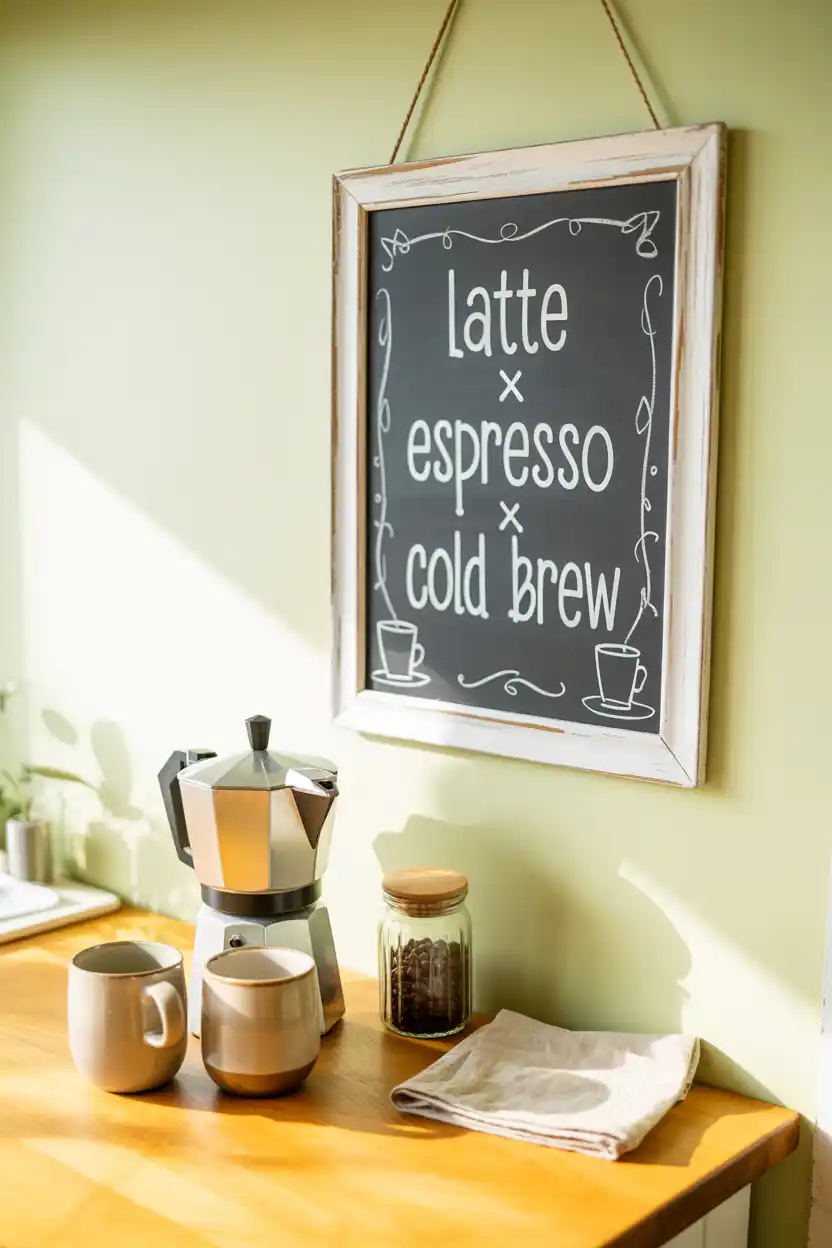
A small sign, chalkboard, or piece of framed art adds personality to your coffee bar and helps it feel like a genuine feature of your home rather than a purely functional appliance corner.
Chalkboards, in particular, allow you to update the message seasonally or list your favorite drink recipes, giving the space a small, low-cost way to feel fresh and current throughout the year.
This step is best suited to anyone who enjoys small styling touches and seasonal decor changes, and it is an easy, inexpensive way to add character without altering the functional layout.
14. Add a Touch of Greenery
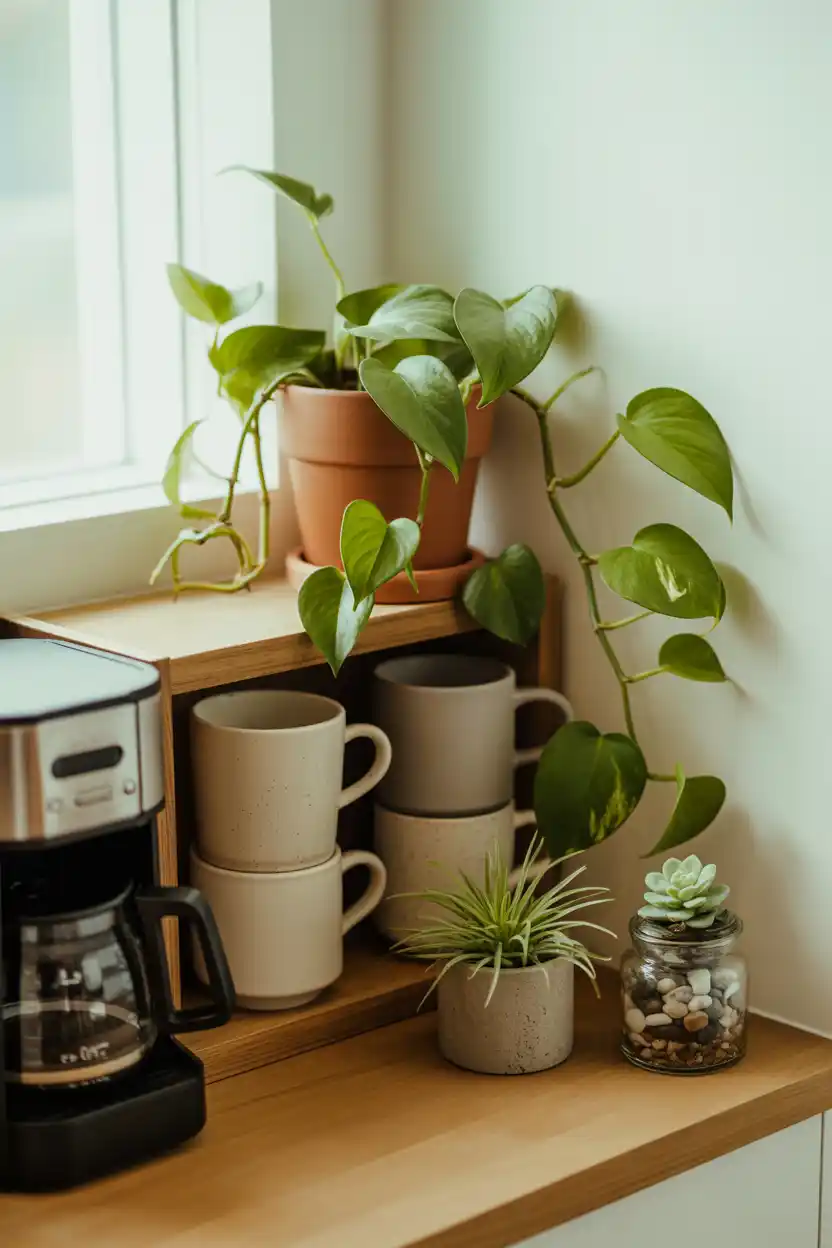
A single small plant brings life and color to a coffee bar without requiring much maintenance or space. Even a small vase of cut greenery or a low-maintenance succulent can soften the look of an otherwise all-hard-surface corner.
Choose a plant that tolerates the humidity and occasional splashes near a coffee station, such as a pothos, snake plant, or a simple stem of eucalyptus in water, all of which are forgiving and low-maintenance.
This step suits anyone who wants their coffee bar to feel a little more organic and alive, and it works well in almost any style direction, from farmhouse to minimalist to boho.
15. Set Up a Creamer and Syrup Station
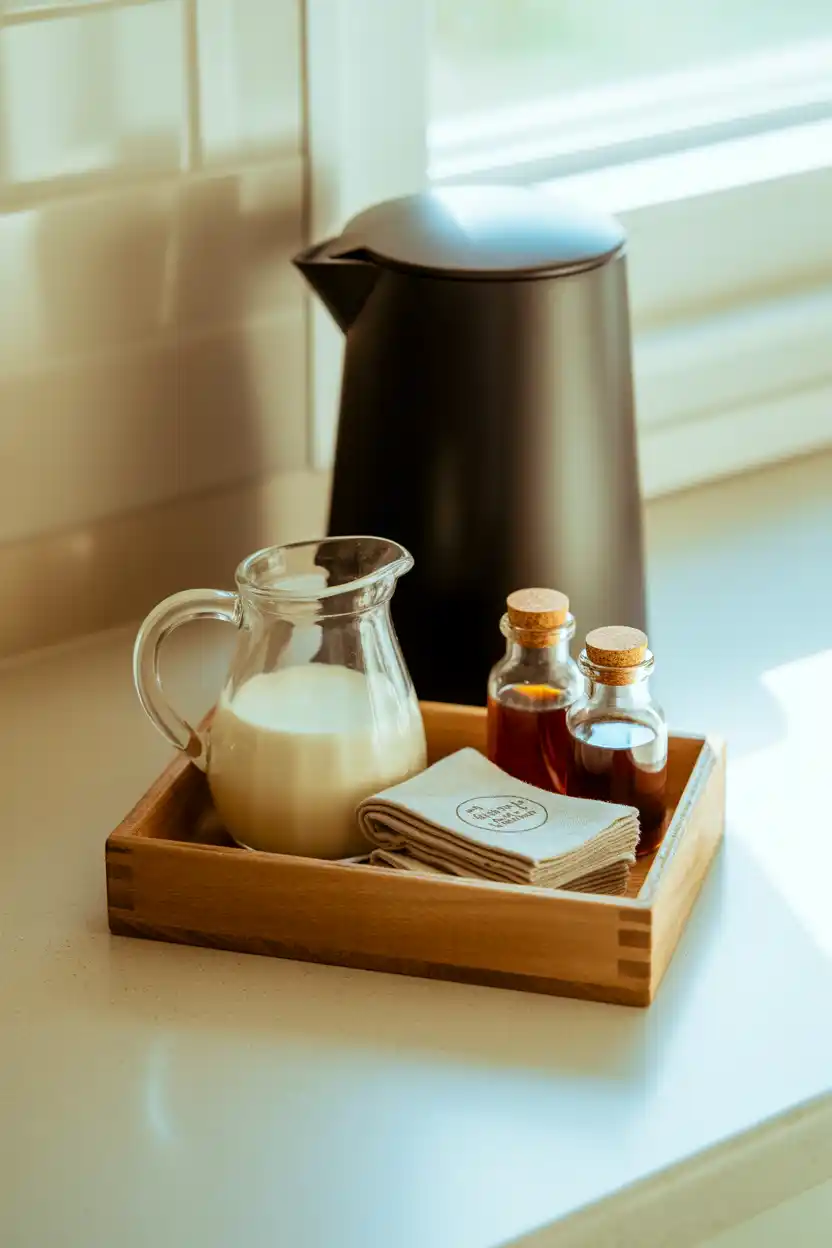
If you or your household enjoys flavored coffee or lattes, a small dedicated caddy for creamer, syrups, and sweeteners keeps these items grouped together and easy to grab without cluttering the rest of the counter.
Using a small tray, caddy, or lazy Susan for this station keeps bottles contained and makes it simple to wipe up spills or drips that can happen with syrups and creamers.
This step is especially useful for households with multiple coffee drinkers who each prefer different flavors or additions, since it keeps everyone’s options visible and organized in one place.
16. Plan for Extra Outlet Access
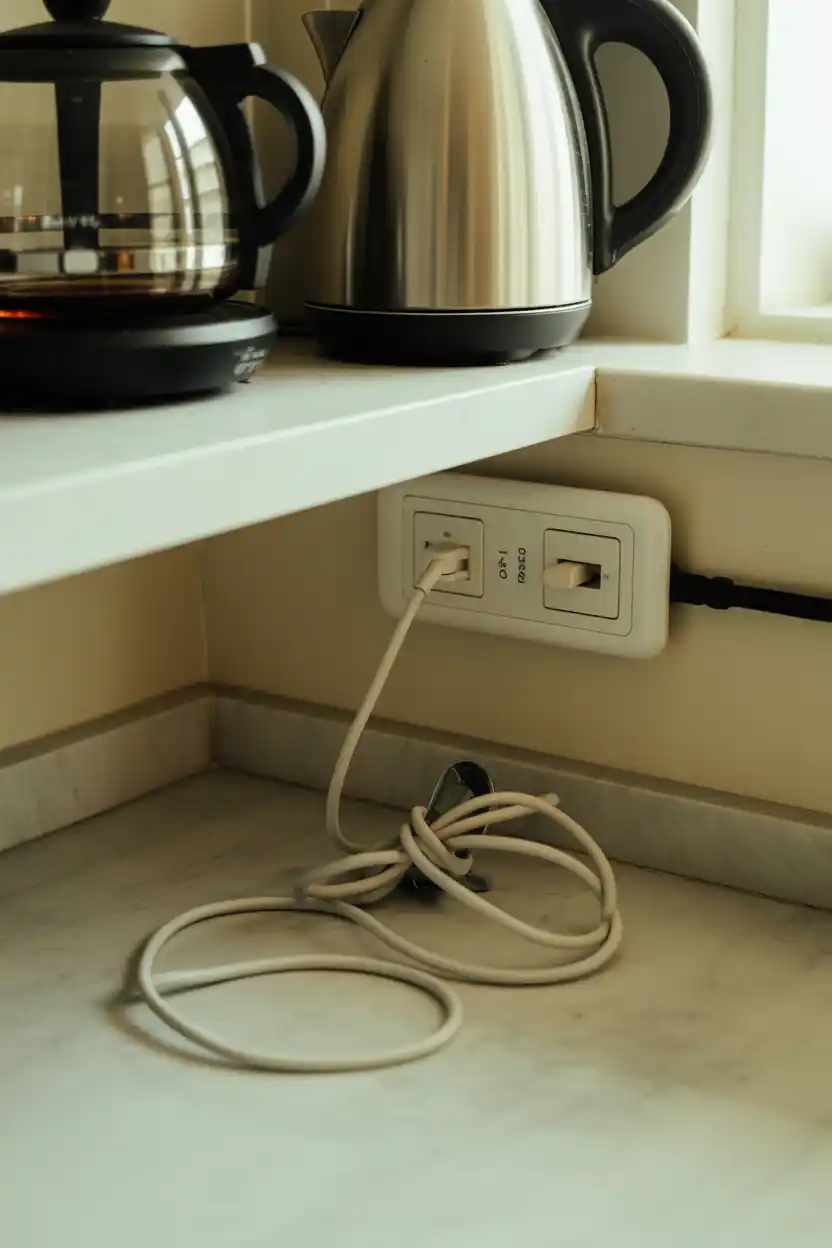
A coffee bar often needs to power more than one appliance at once, such as a coffee maker and a kettle, so plan for a power strip or additional outlet if your chosen spot only has one plug available.
Mounting a slim power strip under a shelf or along the back of the counter keeps cords out of sight and prevents the tangled cord look that can undercut even a well-styled setup.
This step is worth addressing early in the planning process, ideally before you finalize equipment purchases, so you know exactly how many devices your setup can support safely.
17. Add a Stirring and Sweetener Tray
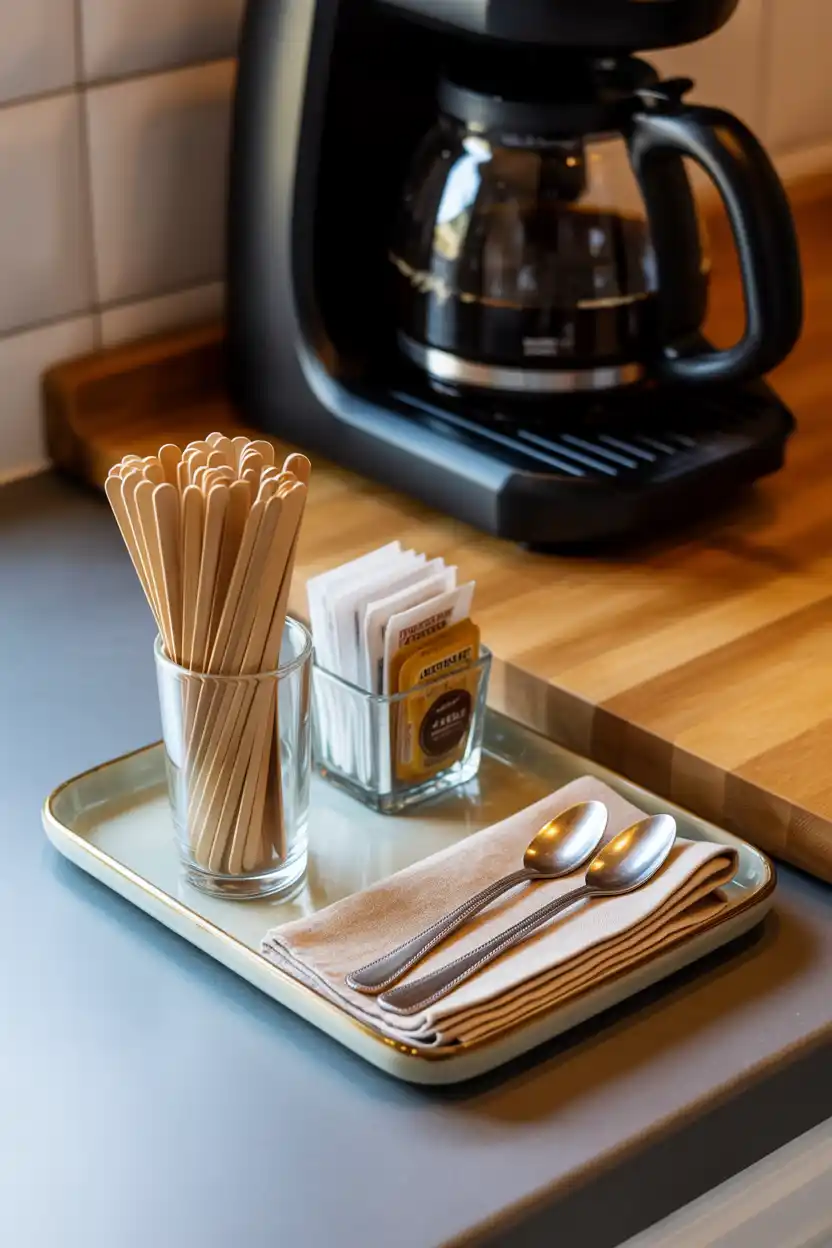
A small tray or holder for stir sticks, spoons, and sweetener packets keeps these frequently used small items from cluttering drawers or getting lost elsewhere in the kitchen.
Grouping these items together also speeds up the morning routine, since everything needed to finish a cup of coffee is within arm’s reach of the machine itself.
This step is especially helpful for households with guests or multiple coffee drinkers, since it keeps small, easy-to-lose items contained and visible in one dedicated spot.
18. Consider a Mini Fridge for Milk
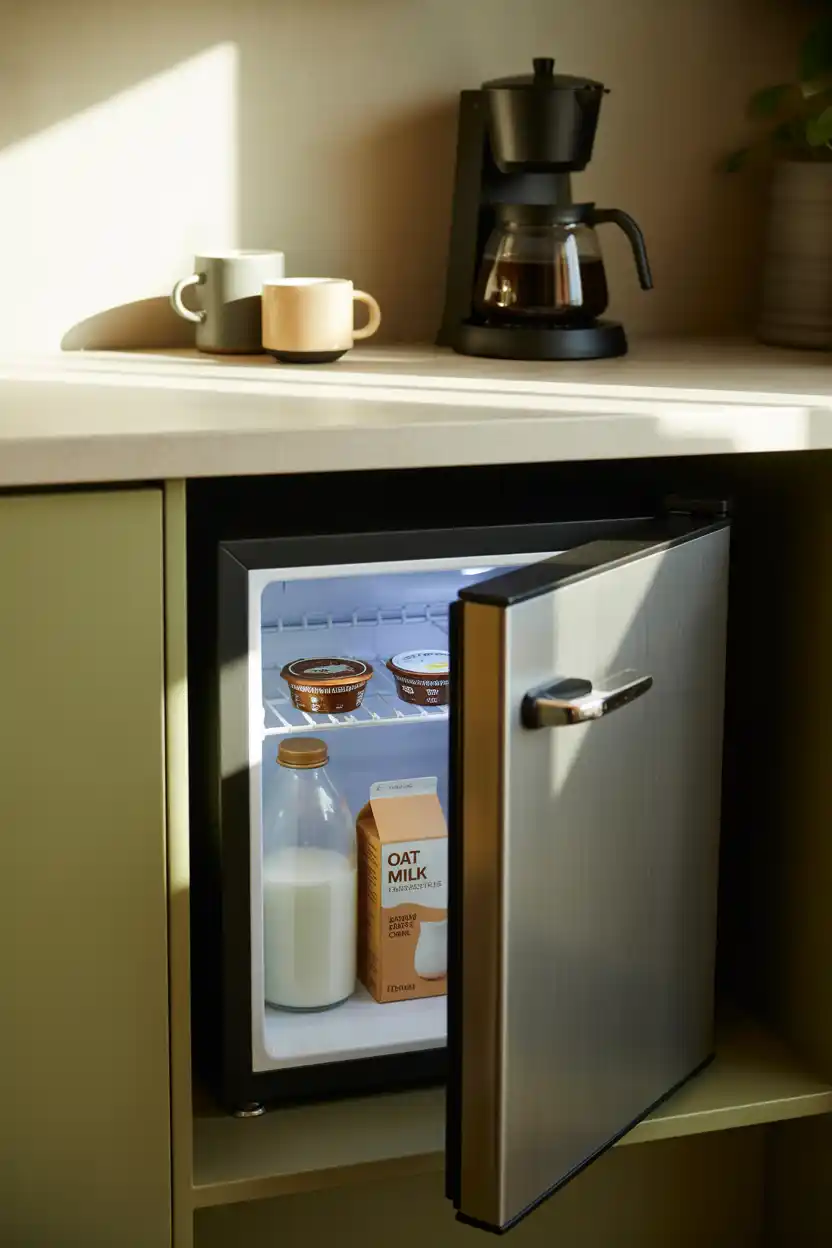
For a fully self-sufficient coffee bar, a small mini fridge tucked into or beside the cabinet below can hold milk, creamer, or cold brew concentrate, eliminating the need to walk across the kitchen for every cup.
This addition works best when there is existing cabinet space to accommodate the fridge’s dimensions and a nearby outlet to power it, so measuring ahead of time, as in step two, becomes especially important here.
This step is best suited to larger kitchens with the space to spare, home offices with a small kitchenette, or anyone who wants a truly complete, independent coffee station.
19. Rotate Decor Seasonally
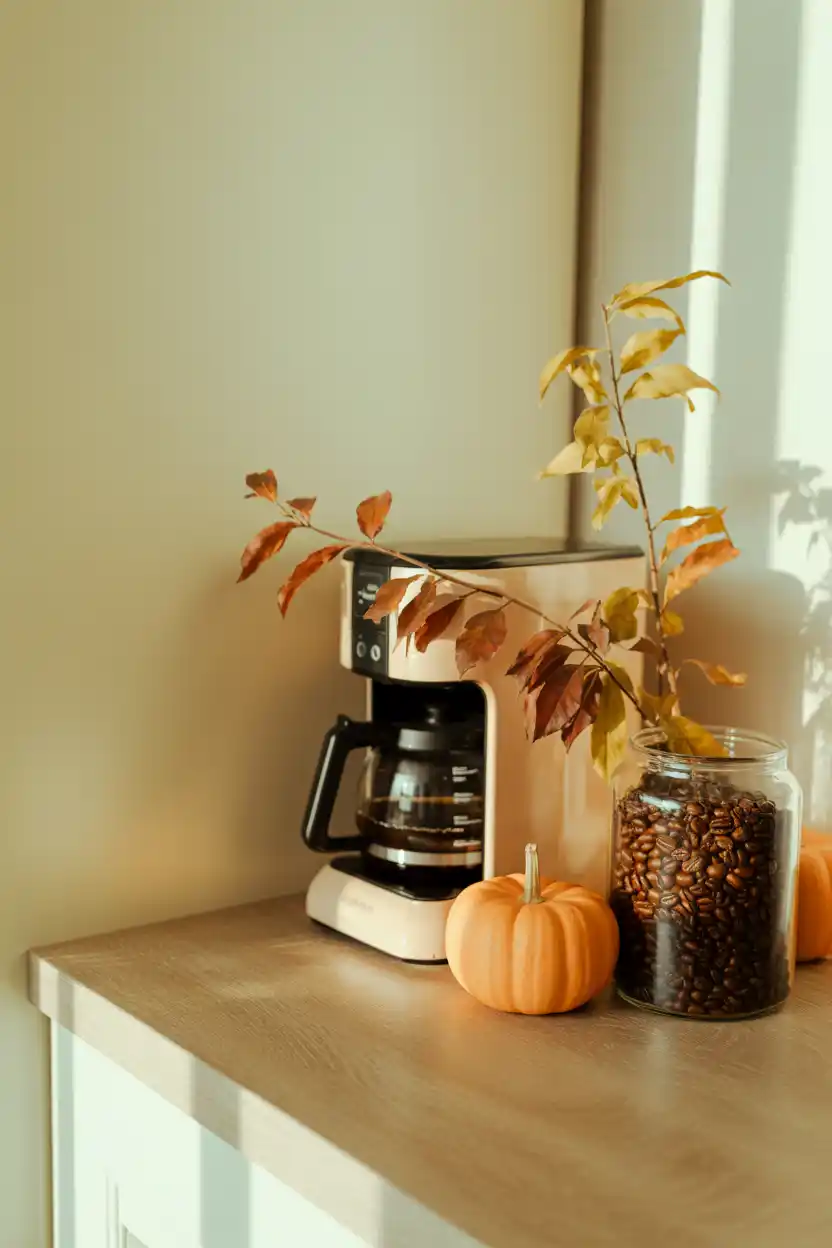
Once your coffee bar’s core setup is in place, small seasonal touches, such as a mini pumpkin in fall, a sprig of holly in winter, or fresh flowers in spring, keep the space feeling current without any structural changes.
This is also an easy way to involve the whole household in styling, since swapping out one or two small items takes only a few minutes and can become a small seasonal tradition.
This step suits anyone who enjoys decorating for the seasons and wants their coffee bar to feel fresh and updated throughout the year without a full restyle each time.
20. Add a Backsplash or Accent Detail
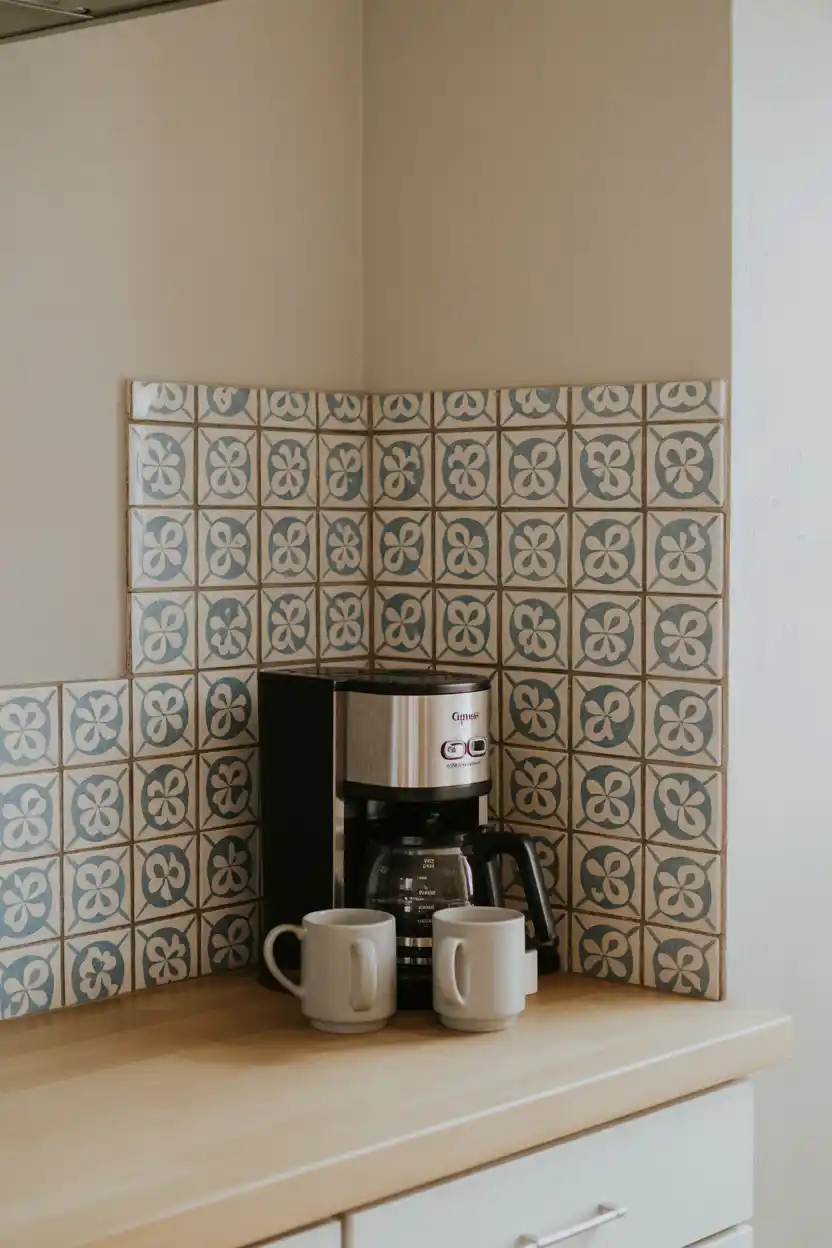
Adding a small section of accent tile, a framed piece of art, or even a peel-and-stick wallpaper panel behind your coffee bar creates a visual anchor that sets the space apart from the rest of the kitchen wall.
Because this accent only needs to cover a small area, it is a manageable weekend project even for those who are not planning a full kitchen renovation, and it can be updated later without much cost or effort.
This step is best suited to those who want their coffee bar to feel like a true design feature rather than just a functional corner, and who are comfortable with a small hands-on project.
21. Maintain and Clean the Station Regularly
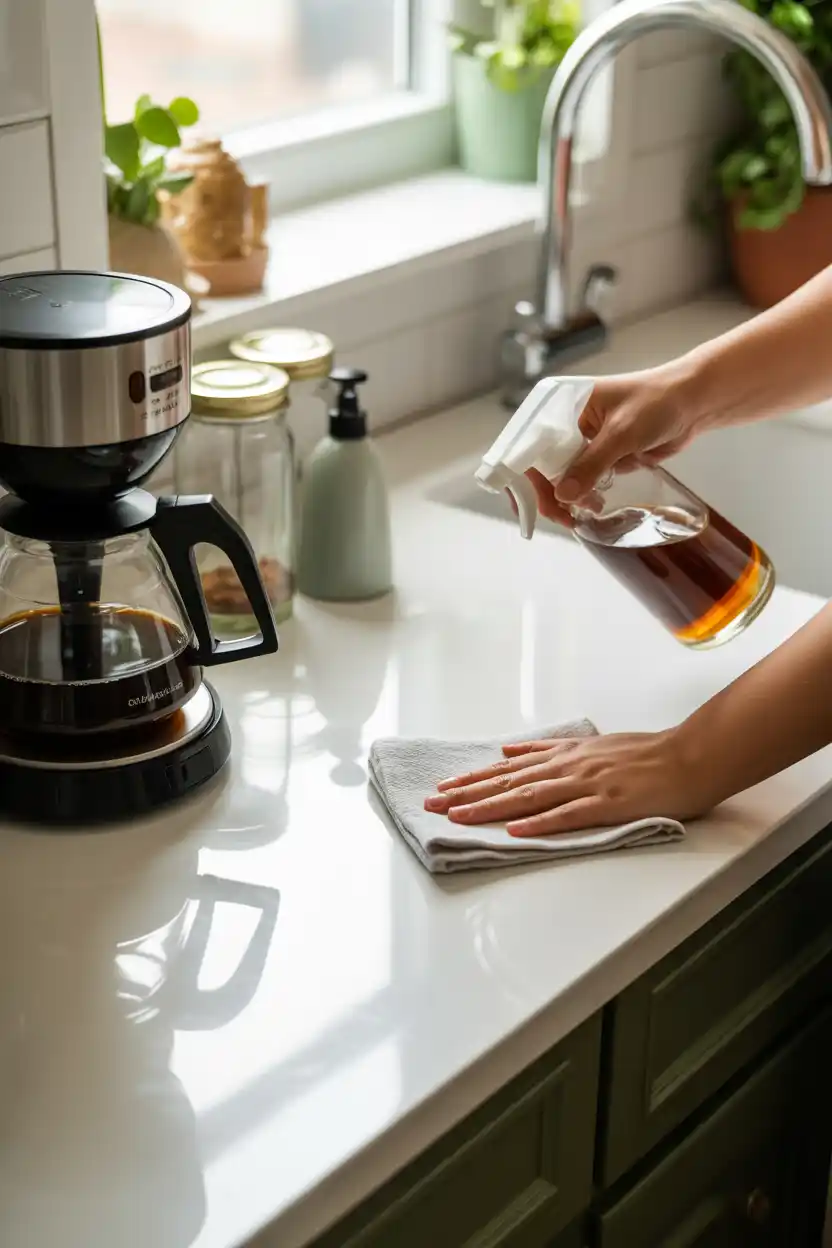
A coffee bar only stays beautiful with a little regular upkeep, including wiping down the counter daily, refilling jars before they run empty, and descaling the coffee maker on the schedule recommended by its manufacturer.
Setting a simple weekly routine, such as washing the drip tray, restocking sweeteners, and dusting shelves, prevents the space from slowly sliding back into clutter and keeps it functioning as smoothly as it looks.
This final step matters for every coffee bar style and budget, since even the most beautifully designed setup will lose its appeal without a small amount of consistent care.
Frequently Asked Questions
What do I need to set up a countertop coffee bar?
A basic countertop coffee bar needs a coffee maker, a canister or jar for beans, a few mugs, and a tray to define the space. Adding a floating shelf, a water source, and one styling detail such as a plant or sign completes a functional and attractive setup.
How much space do I need for a coffee bar?
Many coffee bar setups fit in as little as twelve to twenty-four inches of counter space, especially with a compact or single-serve machine. Adding vertical storage, such as a floating shelf or hooks, helps a narrow footprint function like a much larger station.
Where is the best place to put a coffee bar in the kitchen?
The best location is usually an underused counter corner near an electrical outlet, positioned away from the main cooking and prep zone so the two areas do not compete for space during meal times. A spot near natural light is a bonus but not required.
How do I organize a coffee bar without it looking cluttered?
Group similar items together, such as all mugs on one shelf and beans or pods in matching jars, and store less frequently used tools out of sight in a drawer or bin. Limiting visible items to daily essentials and repeating two or three colors throughout keeps the space looking tidy rather than crowded.
How much does it cost to build a coffee bar at home?
A budget-friendly coffee bar can be built for the cost of a tray, a few jars, and a coaster set, often under fifty dollars if you already own a coffee maker. More elaborate versions with built-in cabinetry, tile accents, or a mini fridge can cost significantly more, so the cost largely depends on how many optional upgrades from this list you choose to include.
Final Thoughts
Creating your own countertop coffee bar does not require a full renovation or an unlimited budget; it just requires working through the steps that actually apply to your space, your habits, and how much time you want to spend on styling. A small apartment kitchen might only need a tray, a jar, and a floating shelf to feel completely transformed, while a larger kitchen with room to spare might take on lighting, a mini fridge, and a tile accent for a more elaborate result. Consider your daily routine as much as your aesthetic preferences, since a station built around how you actually make and drink coffee will get used every single day, while one built purely for looks may not. Start with the steps that solve your biggest daily frustration first, whether that is clutter, slow mornings, or a lack of counter organization, and build outward from there. Pick your starting point today, and let your coffee bar come together one step at a time.


- Be Respectful
- Stay Relevant
- Stay Positive
- True Feedback
- Encourage Discussion
- Avoid Spamming
- No Fake News
- Don't Copy-Paste
- No Personal Attacks
- Be Respectful
- Stay Relevant
- Stay Positive
- True Feedback
- Encourage Discussion
- Avoid Spamming
- No Fake News
- Don't Copy-Paste
- No Personal Attacks
